How to Run Your Own Cloud Server at Home (Step-by-Step)
Sick of watching your monthly cloud storage bills creep higher and higher? Trusting Big Tech with your entire digital life isn’t just a drain on your wallet—it’s also a massive gamble with your personal privacy.
Think about it: every time you sync a photo, save a document, or back up your phone to a third-party platform, you’re giving up control over that data. When server outages strike, privacy policies shift, or inevitable data breaches happen, you’re left completely powerless.
But there’s a better way. If you’re ready to reclaim your digital independence, learning exactly how to run your own cloud server at home is the ultimate solution. In this comprehensive guide, we’ll break down exactly how to do it, covering everything from simple beginner-friendly setups to robust, enterprise-level homelab configurations.
Why This Problem Happens: The Flaws of Public Cloud
Today’s internet is largely built on top of massive, centralized data centers. Sure, it’s incredibly convenient, but this setup strips away our true data sovereignty. Because public cloud providers operate on a shared-resource model, vulnerabilities are practically baked into the system.
Behind the scenes, your personal files are scattered across massive Storage Area Networks (SANs) spanning multiple geographical zones. All it takes is a single regional DNS failure or unexpected hardware glitch, and millions of users are locked out of their accounts in an instant. To make matters worse, these tech giants routinely scan through your private files to train their latest AI algorithms or check for policy compliance.
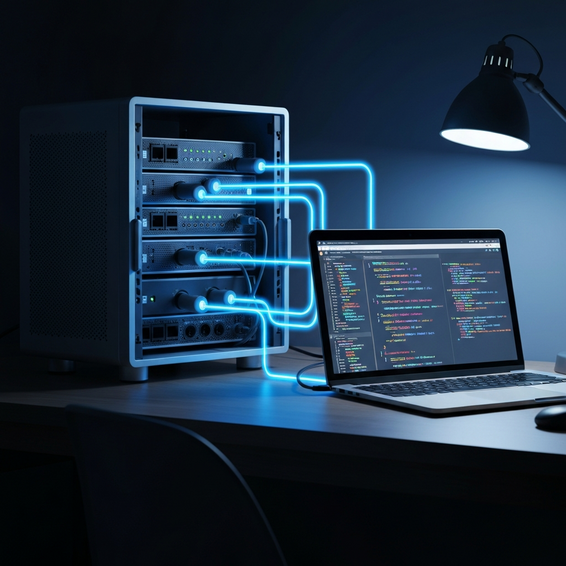
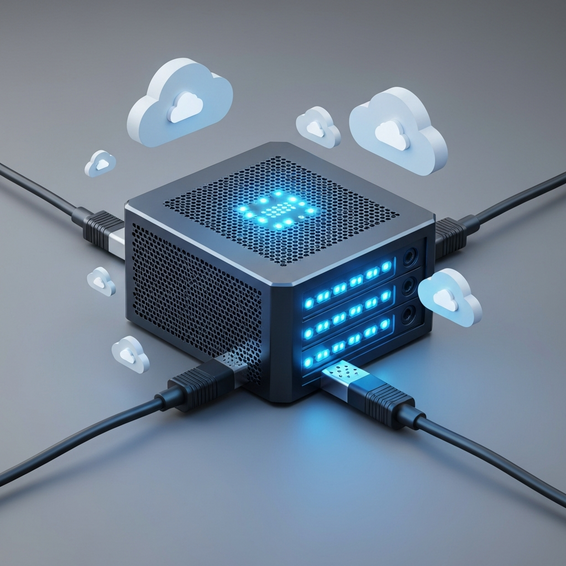
Setting up a DIY cloud server completely sidesteps these technical pitfalls. Moving your infrastructure right into your own living room or home office eliminates dreaded vendor lock-in once and for all. Plus, it drastically cuts down your long-term costs, effectively trading a never-ending Software-as-a-Service (SaaS) subscription for a straightforward, one-time hardware investment.
Quick Fixes: Basic Solutions for Beginners
You might think you need to be a seasoned DevOps engineer to dive into self-hosting, but that simply isn’t true. In fact, there are plenty of straightforward, beginner-friendly setups that can have your personal cloud up and running in less than an hour.
- The Raspberry Pi Setup: Devices like the Raspberry Pi 4 or 5 are remarkably power-efficient microcomputers. By simply flashing a Linux distribution and running an easy Nextcloud installation script, you can magically transform this tiny board into your own private Dropbox alternative.
- Pre-Built NAS Enclosures: Leading brands such as Synology and QNAP provide fantastic “plug-and-play” Network Attached Storage solutions. All you have to do is pop in some standard hard drives, hook the unit up to your router, and let their polished operating systems handle syncing your files anywhere in the world.
- Repurposing an Old PC: Before you spend money on brand-new hardware, take a look around for an old desktop or laptop gathering dust. Just load up a lightweight Linux operating system like Ubuntu Server, plug in a high-capacity external drive, and install some open-source file-sharing software to give it a second life.
To make maintaining these entry-level systems completely hassle-free, you can actually automate daily tasks using AI. By generating a few simple bash scripts with artificial intelligence, your server can automatically manage daily backup routines or send out instant alerts if the system ever drops offline.
Advanced Solutions: Pro-Level Homelab Setup
For IT professionals, software developers, and serious tech enthusiasts, a basic out-of-the-box NAS will probably feel a bit too restrictive. Stepping up to an advanced homelab setup unlocks total architectural freedom and allows for massive performance scaling.
The first step? Ditch those traditional desktop operating systems entirely. You’ll want to deploy a robust, bare-metal hypervisor like Proxmox VE or VMware ESXi instead. Doing so lets you carve up your hardware’s CPU and RAM, distributing resources across multiple isolated Virtual Machines (VMs) and highly efficient LXC containers.
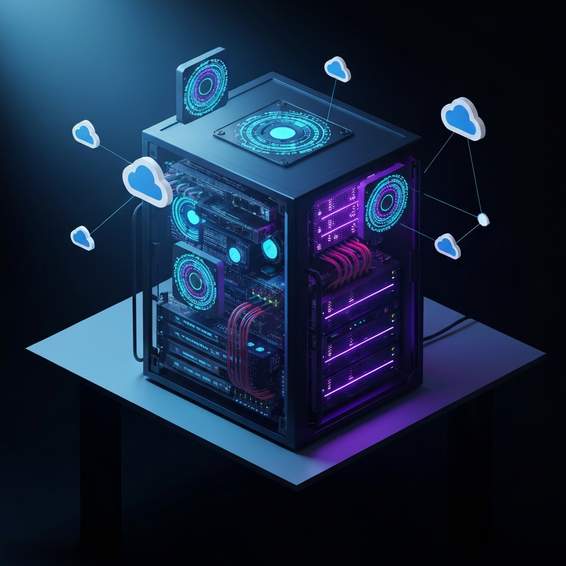
When it comes to advanced file storage, TrueNAS Core (along with its counterpart, TrueNAS Scale) reigns as the gold standard in the industry. It leverages the powerful ZFS file system, equipping your home server with enterprise-grade protection against bit-rot, instant snapshot capabilities, and seamless, real-time data replication.
From a development standpoint, managing your own infrastructure opens up some incredibly powerful possibilities. You could deploy Kubernetes or Docker Swarm to effortlessly orchestrate your Nextcloud containers alongside various web development environments. Let’s say you want to privately build WordPress plugins from scratch; hosting a local staging server directly on your private cloud guarantees snappy, zero-latency database connections.
Best Practices for Security and Performance
Opening up your local server to the public internet is a risky move if you don’t know exactly what you’re doing. Adhering to strict IT security best practices is absolutely mandatory if you want to shield your sensitive data from relentless automated botnets.
- Use a Reverse Proxy: You should never expose ports 80 or 443 directly to the open web. Instead, rely on tools like Nginx Proxy Manager, Traefik, or Cloudflare Tunnels. These handy services act as a secure middleman, routing external traffic safely to your internal services while keeping your real IP address completely hidden.
- Enforce 2FA and Strong Passwords: Let’s face it, brute-force attacks are going to happen. Make sure your Nextcloud setup requires strict Two-Factor Authentication (2FA) and utilizes software like Fail2Ban to automatically block bad actors after a few failed login attempts.
- Implement the 3-2-1 Backup Strategy: Self-hosting doesn’t magically make you immune to dead hard drives or hardware failure. Always keep three total copies of your data stored across two different mediums, ensuring that at least one copy is safely tucked away offsite or locked inside a heavily encrypted cloud bucket.
- Segment Your Network: It is highly recommended to isolate your cloud server on its own dedicated VLAN. By doing this, you guarantee that even if the server is somehow compromised, hackers won’t be able to easily pivot over to your personal laptops, phones, or smart home devices.
Recommended Tools and Resources
Building a bulletproof system requires striking the perfect balance between capable hardware and reliable software. Below are a few standout recommendations to kickstart your DIY cloud project.
Top Hardware Choices:
- Intel NUC / Mini PCs: These tiny machines pack a serious punch while drawing exceptionally low idle wattage. If you want the best bang for your buck, look for highly-rated Mini PCs sporting Intel N100 chips on Amazon or Newegg—they offer a brilliant mix of affordability and energy efficiency.
- Refurbished Enterprise Gear: Don’t overlook the used market. Off-lease enterprise machines like the Dell OptiPlex or HP ProDesk micro-computers are incredibly budget-friendly, easy to upgrade, and perfectly suited for a home server environment.
- NAS-Grade Hard Drives: Standard desktop drives simply won’t cut it. Always opt for reliable storage designed specifically for rigorous 24/7 operation, such as the WD Red Plus or Seagate IronWolf lineups.
Top Software Stacks:
- Nextcloud: Widely regarded as the undisputed king of self-hosted cloud platforms, Nextcloud provides everything from seamless file syncing to robust calendar integration and real-time document collaboration.
- ownCloud: If you’re working with older or less powerful hardware, ownCloud is a fantastic choice. It operates as a slightly faster, leaner alternative while still getting the job done beautifully.
- Seafile: If your sole priority is pure, unadulterated file syncing, Seafile is highly optimized for the task, boasting blistering speeds and highly efficient delta-sync capabilities.
Frequently Asked Questions (FAQ)
Is it actually cheaper to run my own cloud server?
Yes, it absolutely is—at least in the long run. While you will inevitably face some upfront costs to purchase the hardware and hard drives, the investment typically pays for itself within 12 to 18 months when compared to shelling out $10 to $20 every single month for a premium public cloud plan. Plus, the electricity required to run a modern, efficient mini PC usually adds up to just a few bucks a year.
Do I need a static IP address for a home server?
Not at all. A static IP isn’t strictly necessary, which is great news since the vast majority of home internet providers only hand out dynamic IPs. You can easily navigate around this minor hurdle by utilizing Dynamic DNS (DDNS) services such as DuckDNS. Alternatively, you can route your web traffic through a secure Cloudflare Tunnel, a method that conveniently bypasses the messy process of port forwarding altogether.
Is a DIY cloud server safe from hackers?
A DIY server is remarkably safe, provided you take the time to configure things properly. By implementing tools like reverse proxies, strict SSL certificates, complex passwords, and proper network segmentation, you can easily build an enterprise-grade security posture right at home. That being said, if you lazily leave default passwords active or recklessly open random ports on your router, you’ll find yourself compromised in no time.
Conclusion
Making the leap to migrate away from Big Tech’s towering ecosystem might feel a little daunting at first glance. However, it easily stands as one of the most practical and rewarding tech projects you could ever undertake. By carefully selecting your own hardware, configuring a reliable software stack, and tightly securing your home network, you finally lock down true data sovereignty.
Whether you opt for an effortless, plug-and-play NAS enclosure or dive deep into the weeds with an advanced Proxmox cluster, learning exactly how to run your own cloud server at home is an incredibly empowering experience. Best of all, it guarantees that your personal data remains exactly that—private, heavily secured, and entirely under your own control.